Saturday, December 31, 2011

Arty the Smarty needs a place to live!

I love the book Arty the Smarty. Nowadays it's super rare and hard to find. I read it to the pre-school group, just a few parts, in order to introduce a new art directive. This was about making an aquarium, complete with little fishy-friends (made with coffee filters and watercolor) for Arty. Just some shoe boxes and tempera paint were used to make the aquariums. The paint was applied with big sponges to  create the watery and bubbly effects. For the finishing touches, the children were given a few sea shells, pebbles, seaweed (green pipe cleaners) and model magic to create the bottom of their aquariums.


My mock-up of Arty, in the illustration style of the book.

Little Crab Friends

 
I read a part of the book Arty the Smarty to the pre-school group. It was about Mean Old Crab. At the end of it, I told the children that Mean Old Crab might not be mean anymore...if we make him some friends. And what colorful little crabs they made!


My painted image of Mean Old Crab

Cookies! (pretend)


The cookies! This was my very first directive that I came up with and worked on with a group of pre-schoolers. They started with a paper plate, or "cookie tray" and began by painting it with little sponges and adding brightly colored tissue paper. After that, they each got round cardboard "cookies" to decorate with foam "frosting", chocolate and mint "chips", pom-pom "cherries" and "marshmallows" and various other "toppings". The result was a fun, fake cookie-filled pile of creativity.

My Demo Tote Bag

To illustrate for the group what I wanted them to make, I did my own "demo tote bag". It's just to show them what the end result will be like, and to get them (and the staff) excited about the project. I passed it around so each participant had a chance to see the bag up close and hold it in his or her hands.

Front
Back

Tote Bags

Front

Back
Front

Back

This project was also done with the teenage group. I noticed how much they enjoyed painting, and I also wanted to do something that would appeal to their age group. So why not make some funky tote bags? I decided they would first paint on a piece of jean fabric with tempera paint. The next step was to add embellishments and a strap using tacky glue. The results were fab. Many of the staff who helped the participants were asking me how they could make one of their own! The tote bags were a huge hit with everyone. I was so proud of the group and saw how excited they were while they were doing the artwork.

Robots

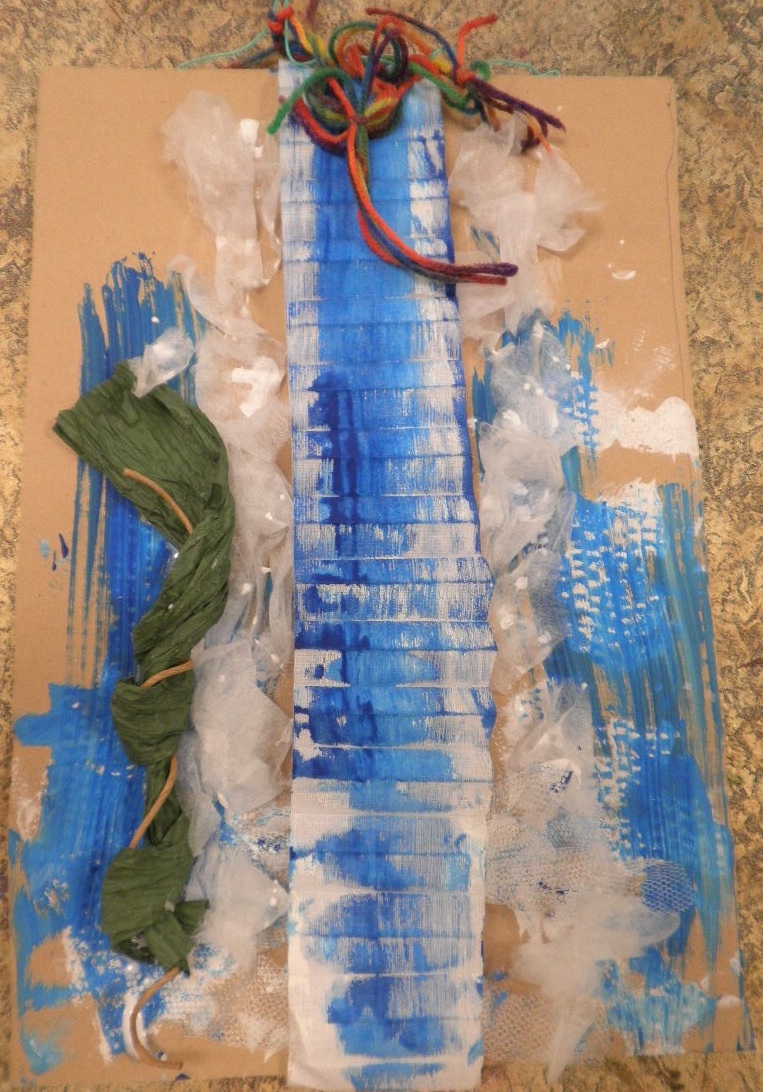
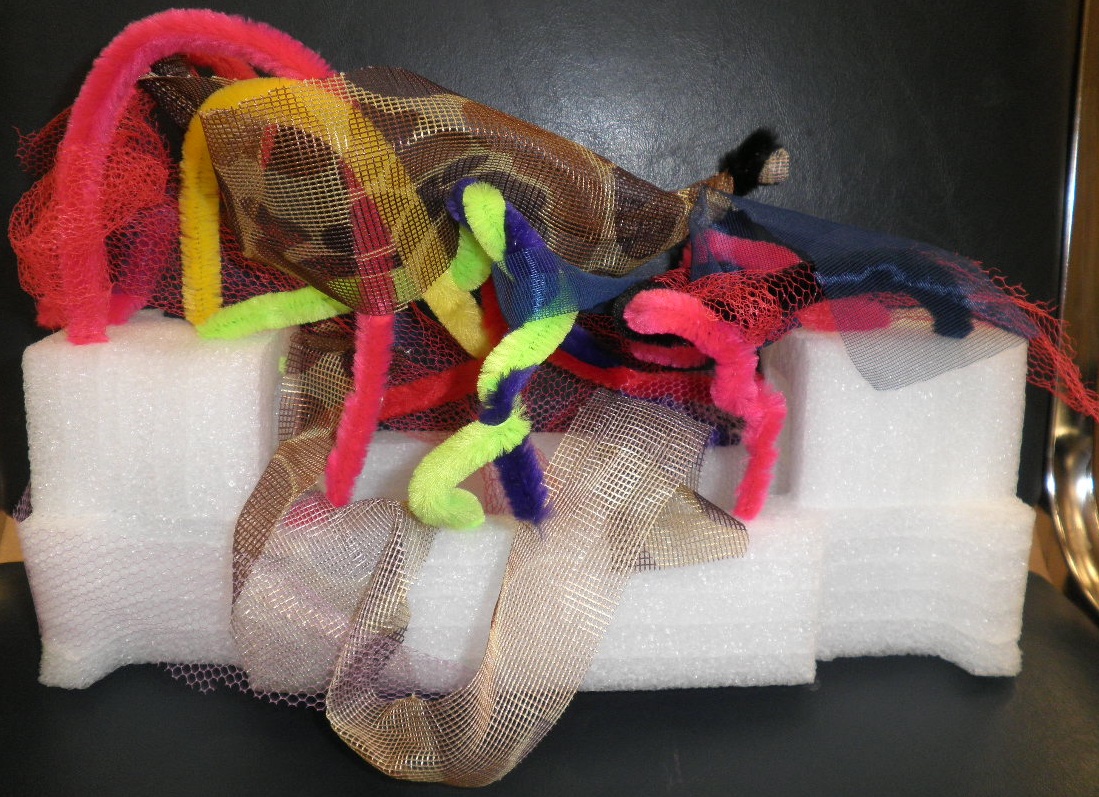
The four pieces of artwork featured in this post may not look like robots, because it was the process that made this directive work. The group I did this with was in the early teenage years. They had varied disabilities, but they were a lively, interactive and tight-knit bunch.

When I explained the directive to them, they each received a bag of "robot parts". They were to paint and design their own robots, in any way, shape, or form they chose. Over the course of about four 30-minute sessions, they painted, glued, and embellished their creations. The outcome of the artwork had very colorful, shiny results — even a little bit of 3-D.

Thursday, December 29, 2011

Abstract Waterfalls


The two pieces of art here are examples of my last directive with the sensory-oriented group. It started with the goal of creating a textured landscape and leftover pieces of window treatments. From there I determined that the group would make waterfalls, using sponges to apply a little blue and white tempera paint down the center. "Foam" was added to the bottom of the waterfalls, which was that stuff you use to make tutus. Then I found some rainbow yarn and thin, plastic-coated wire for the abstract rainbow formations. The last steps were to add some fluffy clouds - dryer sheets - and a growing vine. The green part was twisty paper and the brown twig part was flexible wire. The waterfall, or window treatment part, had full movement and was only taped onto the cardboard backing on the top and on the bottom. There were many textural and visual elements to this waterfall directive. Many odd materials may be used for a nature scene.

Soft Sculpture

This is another directive I tried with the same sensory group. I challenged myself to come up with a project that did not require any glue! It turned out that packing material, interesting fabrics, and fuzzy, brightly colored pipe cleaners did the trick. The participants enjoyed manipulating the materials as they formed their sculptures.

Texture Collage

This is my first post on artwork done at my recently completed internship. The work done in this group was very sensory-oriented, so for this directive I began with a simple piece of cardboard and textured paper. Then, the participants were given foam materials to glue down in any way they chose. Following that, the individuals were given brightly colored pieces of fabric and shiny foil for added interest. Simple and inexpensive.

Just Add Baking Soda

This was an experiment using tempera paints mixed with baking soda for texture. Really cool results.